Trial fitting of motor and transmission (PART 1).
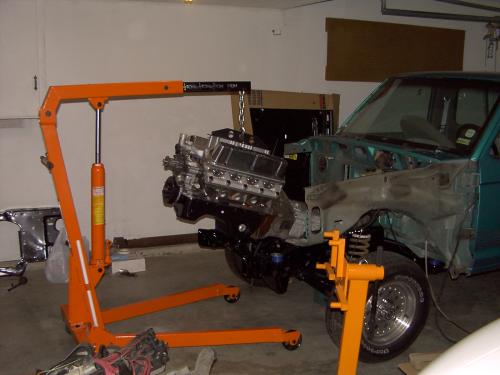
Here are a few shots of my very first engine and transmission trial fitting.
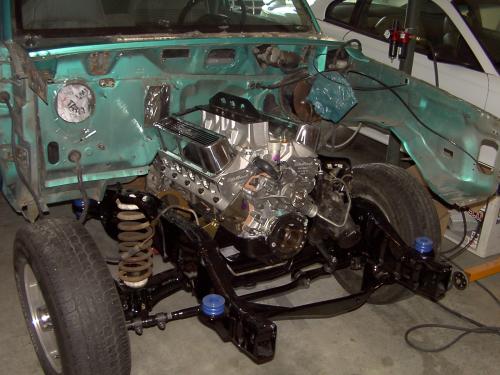
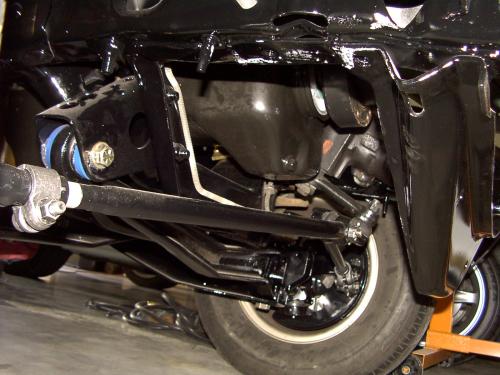
Having the front clip off makes it super easy to slide the motor and tranny combo in.
I don't however recommend you take yours off just to put the motor in. Mine's off because of some front body damage I had.
In case you don't know taking off the front clip requires drilling out spot welds and then welding the clip back in place.
Unless you are up to that leave your front clip on.
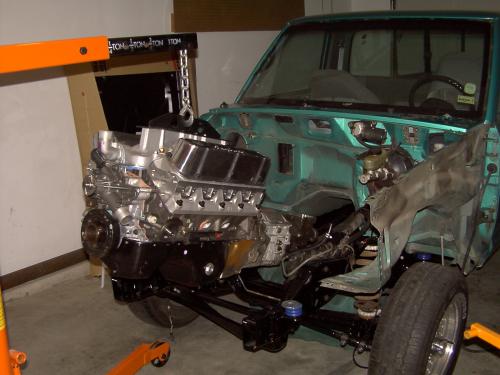
Another shot of the motor tranny combo. Notice how the engine looks just right for the Ranger. Doesn't look over sized or anything.
Actually the T-5 seems to be quite a bit smaller than my Ranger's factory 5 speed.
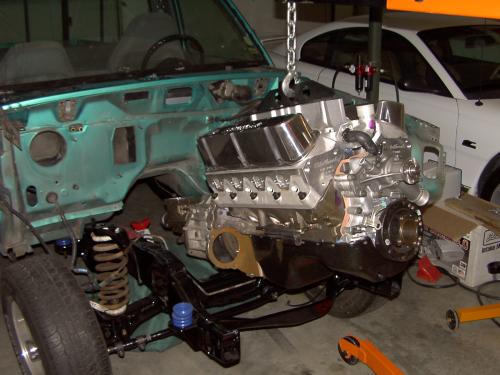
Another install shot. Excuse the dirty tranny and bell housing. It got cleaned a few days later.
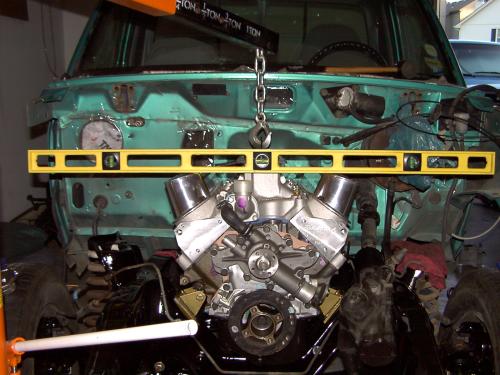
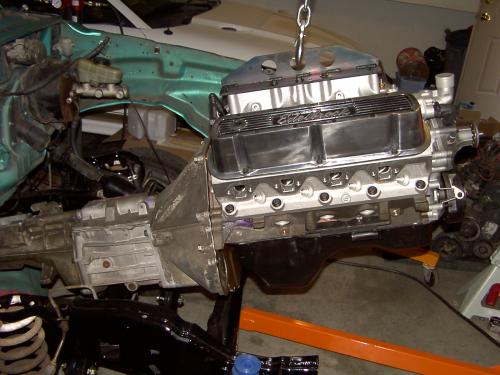
Here's a great idea when lining up the motor, a level. Even my best guess was a little off so take the extra time to do it right.
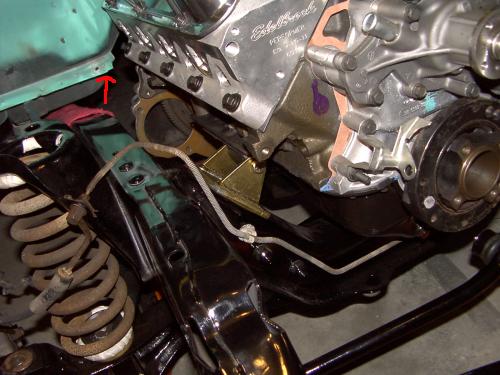
This shot clearly shows the passanger's motor mount and adapter plate.
Also notice that red arrow. I had to cut off that little corner of seam as it contacted my L&L headers. (future pics will show).
I included this as it shows where about the adapter plate is in reference to motor and crossmember.
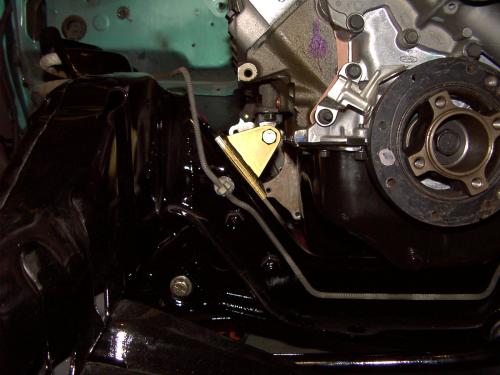
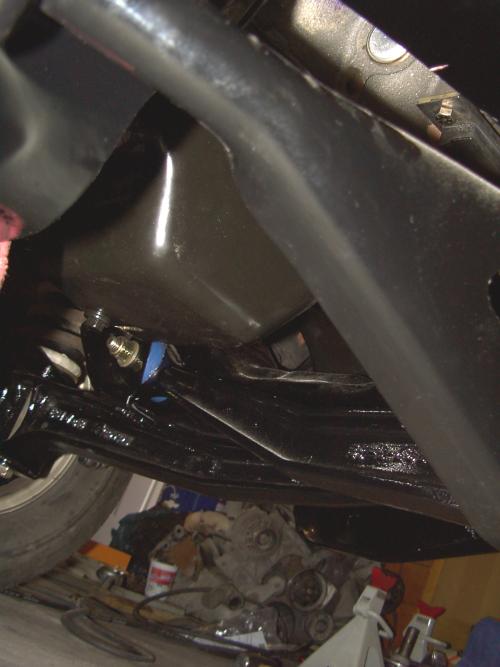
Here's an excellent shot showing oil filter location with reference to the power stearing box.
It should be very clear to you now why an oil filter relocation kit is needed.
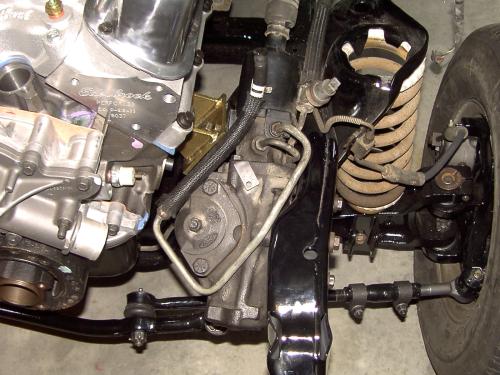
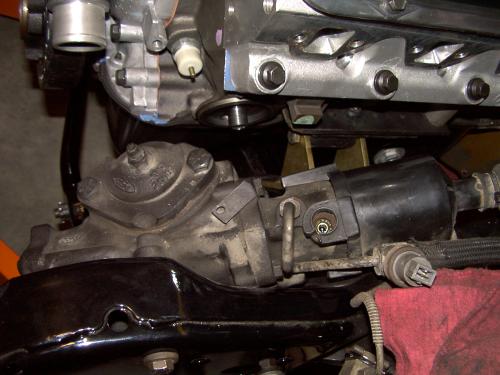
A nice overall look at how tight everything is on the driver's side. You also get another look at oil filter location.
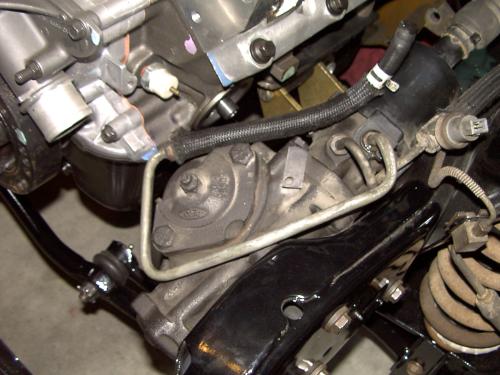
Another angle look because there's only so much you can see in a picture. I figure the more angles the better.
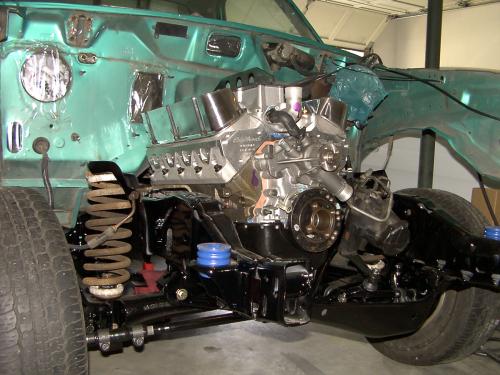
Overall look at engine placement. You can also see how the passanger's valve cover is going to interfere with the A/C box and require some work on the A/C box.
PLEASE NOTE. Don't drill holes and bolt your engine down yet. You will want your headers in place as they will be a tight fit and you may have to shimmy your motor around a little.
You also want to test fit the front accessory brackets (future progess pics with more detail).
Also make sure you can get a spark plug and socket in cylinder #8 as it points right at the firewall.
Another overall shot. Excuse the coils springs but they are temporary and get replaced soon.
OK here you can see the importance of using a dual sump oil pan. I'm told a rear sump fox chassis style pan also works.
This is the front sump of the pan. Notice how it cradles the stock Ranger engine crossmember.
Here's the rear sump. It was important for me to get my motor as far back as I did or the passanger's I-beam would hit the rear sump.
Picture is taken from behind the front passanger's wheel (in case you can't tell)
|