Engine
I basically pulled everything off except the heads, lower intake, timing cover, and oil pan. I flushed
the engine with oil and made sure everything I could see inside was good and rust free. I got all the gasket surfaces cleaned up and reassembled.
One thing I did find wrong was the water pump wouldn't hardly turn. It had rusted on the inside. After I got it pulled and cleaned out I decided it was not worth saving and replaced it. While I was at it
I replaced the thermostat too. New pcv and plug wires (since I ditched the DIS for a distributor).
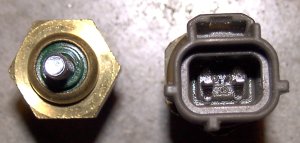
Since I was going with the 89-93 Mustang ECC I swapped out the three sensors on the motor that had different connectors than the Explorers.
Oil pressure sending unit, engine temperature sensor, and coolant temperature sensor.
The other thing I had to change was the fuel rail. I picked up a 94-95 Mustang style fuel rail on Ebay sine my 2000 donor motor had a return less type
rail on it. I had left over, brand new, 19lb injectors from Project Red Ranger's crate motor. I swapped those in too since the Explorer injectors
had different connectors on them than the Mustang units.
I pulled the cam sensor and installed a 90 Mustang distributor and pretty much treated everything else like a regular Mustang engine.
Here's the engine temp sensors.
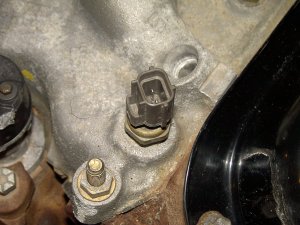
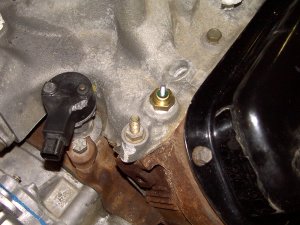
Here's where it was located on the engine, before and after.
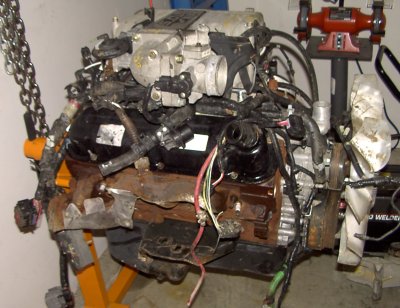
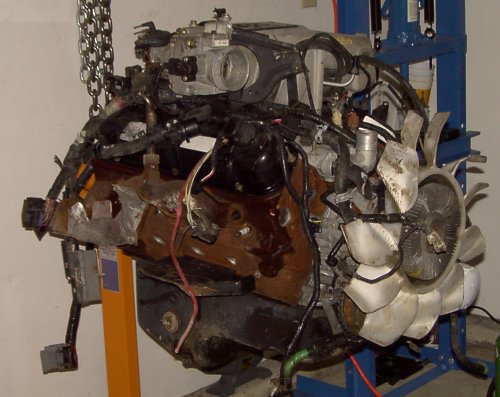
OK here we have the engine more or less as it was when I got it. I've already started cleaning it up here but decided to stop
and take a few pictures.
And one from the other side.

I must say it looks like a dis-hearting mess at first. Especially after working with a brand new crate motor
on Project Red Ranger. However it turned out just fine.
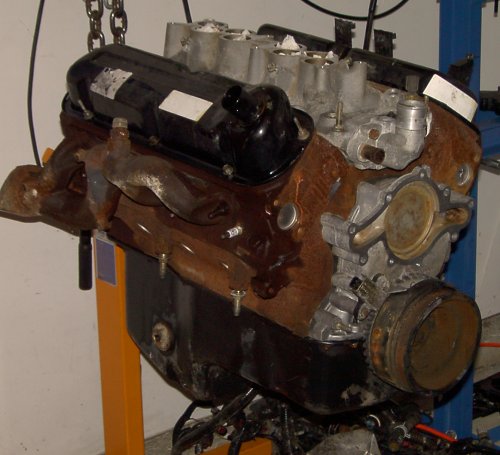
Here's what it looked like with most the stuff pulled off.
Here's with the valve covers pulled.
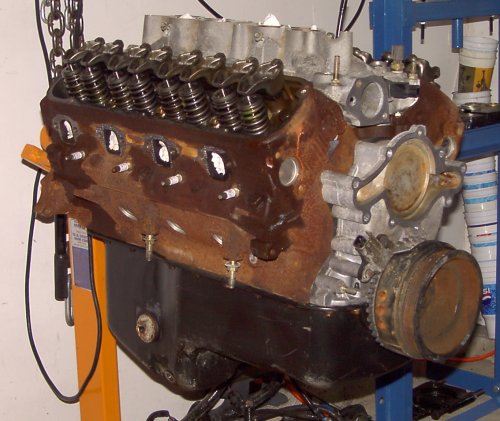
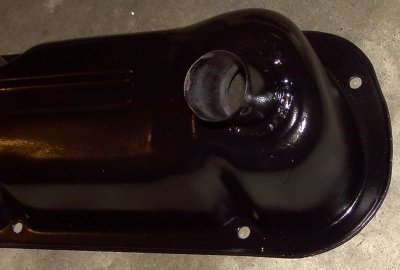
After pulling the valve covers I discovered the passanger's side cover was damaged. The oil filler neck was no longer an air tight seal.
So I had a bead tig welded around the base of the neck to seal it.
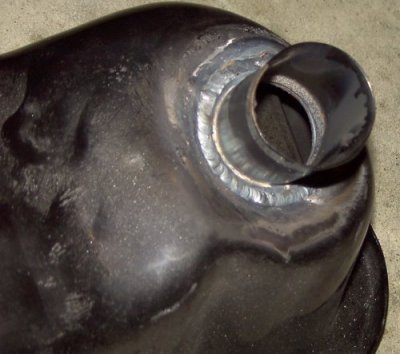
After sanding and painting it, it looked as good as new.
Here you get a shot of the Explorer accessory layout. It's by far the most compact 302 accessory setup I've ever seen in terms of
distance from the front of the engine sticking outwards (towards the radiator). Even the alternator is much thinner than I've seen before.
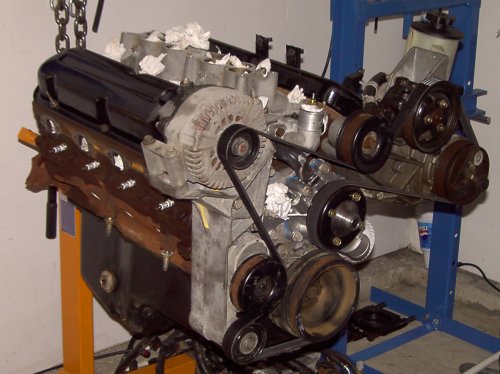
All those white things you see are paper tells to keep dirt out of everything I've cleaned (in case you're wondering).
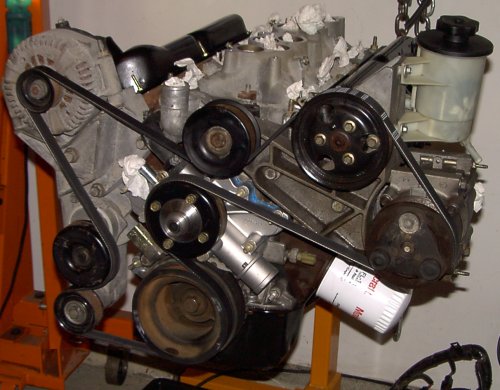
Here's another view.
|